Here's a comprehensive guide on how to install them:
1. Choose the Right Rivet and Tools
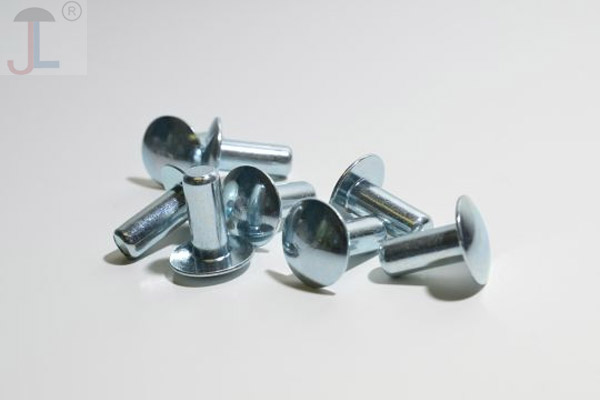
- Type of Rivet: For most general applications with aluminum, you'll likely use blind rivets (also known as pop rivets). These are installed from one side and don't require access to the back. Other types like solid rivets exist but require access to both sides and different installation methods.
- Rivet Material: Ensure your rivets are also aluminum or a compatible metal for the materials you are joining to prevent galvanic corrosion.
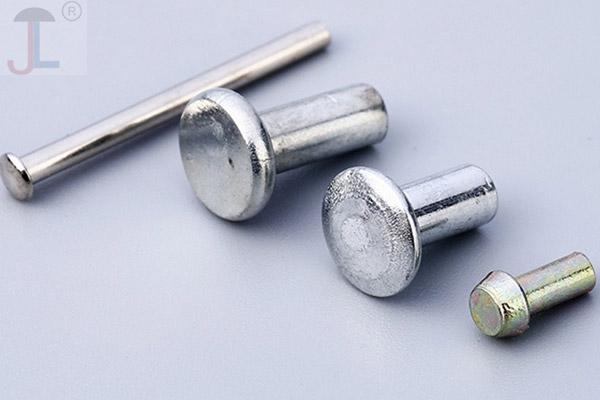
- Rivet Size: The diameter and length of the rivet depend on the thickness of the materials you're joining. A general rule is that the rivet's diameter should be about 2.5 to 3 times the thickness of the thickest sheet being joined. The rivet length should be the total thickness of the materials plus about 1.5 times the rivet's diameter to allow for proper setting.
- Rivet Gun (for Blind Rivets): You'll need a rivet gun, also known as a pop rivet tool. These come in manual and powered (pneumatic or battery-powered) versions. For occasional use, a manual hand riveter is usually sufficient. Ensure the rivet gun has the correct nosepiece size for the diameter of your rivets. Many rivet guns come with interchangeable nosepieces.
- Drill and Drill Bit: You'll need a drill bit that matches the diameter of your rivets. It's crucial that the hole is the correct size – too small, and the rivet won't fit; too large, and the connection will be weak.
- Safety Glasses: Always wear safety glasses to protect your eyes from flying debris.
-
Optional:
- Clamps: To hold the materials firmly together while drilling and setting the rivet.
- Deburring tool or file: To remove sharp edges from the drilled holes.
- Washer: For extra support on softer materials or to distribute the load over a larger area.
2. Prepare the Materials
- Align the Materials: Ensure the pieces you want to join are aligned correctly and clamped together if necessary.
- Drill the Holes: Drill through all layers of the material at the point where you want to place the rivet. Use the drill bit that matches the diameter of your chosen rivets. Make sure the drill goes straight through all layers.
- Deburr (Optional but Recommended): Use a deburring tool or file to remove any sharp edges or burrs around the drilled holes. This ensures a flush fit and a cleaner installation.
3. Install the Rivet (Using a Blind Rivet Gun)
- Select the Correct Nosepiece: Install the nosepiece on your rivet gun that matches the diameter of the aluminum rivet you are using.
- Insert the Rivet: Insert the long, thin part of the rivet (the mandrel) into the nosepiece of the rivet gun. Push the body of the rivet through the pre-drilled hole in the materials until the head of the rivet is flush against the surface of the top material.
-
Set the Rivet:
- Manual Rivet Gun: Hold the rivet gun firmly against the rivet head. Squeeze the handles of the rivet gun together. You will likely need to squeeze the handles multiple times. Each squeeze pulls the mandrel through the rivet body, causing the blind side of the rivet to expand and clamp the materials together. Continue squeezing until the mandrel snaps off with a pop or click.
- Powered Rivet Gun: Place the nose of the rivet gun squarely over the rivet head. Activate the gun according to the manufacturer's instructions. The powered gun will pull the mandrel and set the rivet in one smooth operation.
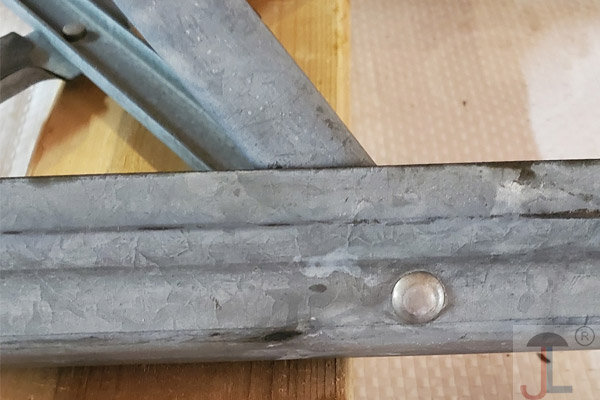
- Inspect the Rivet: Once the mandrel has snapped off, the rivet is set. Check that the rivet head is seated flush against the material and that the joined materials are held firmly together. The snapped-off mandrel can be discarded.
4. Installing Solid Aluminum Rivets (Requires Access to Both Sides)
solid aluminum rivets require a different technique and typically involve:
- Inserting the Rivet: Place the solid rivet through the aligned holes.
- Bucking Bar: Hold a bucking bar (a heavy steel block with a shaped depression) against the manufactured head of the rivet.
- Hammering: Use a rivet hammer to strike the tail of the rivet (the unformed end). The force of the hammer, with the bucking bar providing resistance, causes the tail to flatten and form a second head, clamping the materials together. Pneumatic rivet guns can also be used for this process, making it faster and more consistent, especially for larger rivets.
Important Considerations:
- Hole Size: The drilled hole should be just slightly larger than the rivet body for a snug fit.
- Rivet Length: Ensure the rivet is long enough to pass through both materials with enough extra length to form the blind side or the second head properly.
- Consistent Pressure: When using a manual rivet gun, apply steady, consistent pressure for the best results.
- Material Compatibility: Always use rivets made of a material compatible with the materials you are joining to avoid corrosion. Aluminum rivets are excellent for joining aluminum sheets and other non-ferrous metals.
- Practice: If you're new to riveting, it's a good idea to practice on some scrap materials first to get a feel for the process and ensure you're using the correct technique.
By following these steps, you can effectively install aluminum rivets for a strong and lasting connection in your projects. Remember to prioritize safety and choose the right tools and rivets for your specific application.