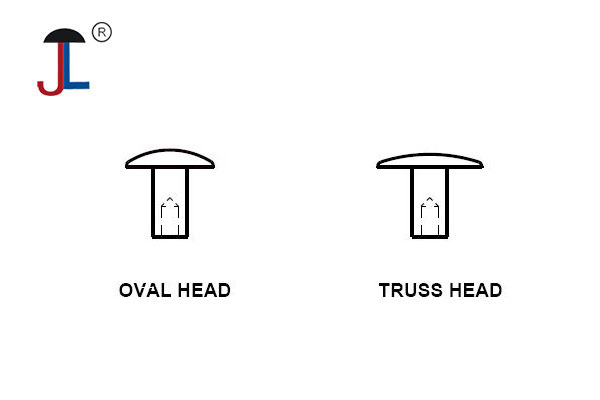
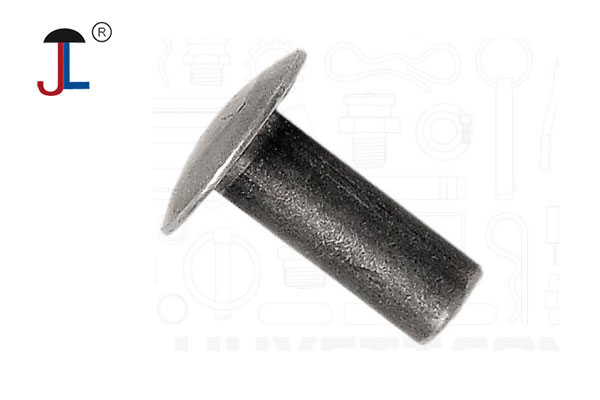
To install truss head rivets, which are a type of solid rivet with a rounded, slightly domed head that protrudes above the surface, follow these general steps:
-
Prepare the Materials: Ensure the surfaces to be joined are clean and aligned correctly. Remove any dirt or rust for better contact.
-
Drill the Hole: Drill a hole through the materials slightly larger than the diameter of the rivet shank. The hole should be perpendicular to the surfaces and just deep enough to fit the rivet.
-
Insert the Rivet: Place the truss head rivet into the hole with the truss head on the outermost side.
-
Set the Rivet Tail: Use a bucking bar (a heavy metal bar held against the tail side of the rivet) and a riveting hammer or rivet gun. Strike the rivet head to expand and deform the tail end inside the hole, forming a second head that clamps the materials together tightly.
-
Inspect the Rivet: Check that the rivet is properly seated with the head flush and the tail formed into a smooth, mushroom shape holding the materials firmly.
If the rivet is steel and requires greater strength, heating the rivet red hot before driving it can aid forming, as commonly done with solid steel rivets.
For more precise or delicate installations (such as aircraft rivets), specialized rivet setting tools or rivet guns can provide better control and finish. The general principle remains the same: the rivet expands and forms tight joints as the tail end is deformed.
In summary: drill, insert truss head rivet with the head outside, then use a hammer and bucking bar to flare the tail for a solid joint