Leather rivets are small, two-part fasteners used to join pieces of leather together securely. They’re commonly used in leathercraft, fashion, and accessories like belts, bags, wallets, straps, shoes, and saddles. Rivets work by clamping two or more layers of leather between a cap and a post, then deforming the post so the pieces are tightly locked in place.
I’ll explain how leather rivets work, the types of rivets, and how to install them properly.
1. How Leather Rivets Work
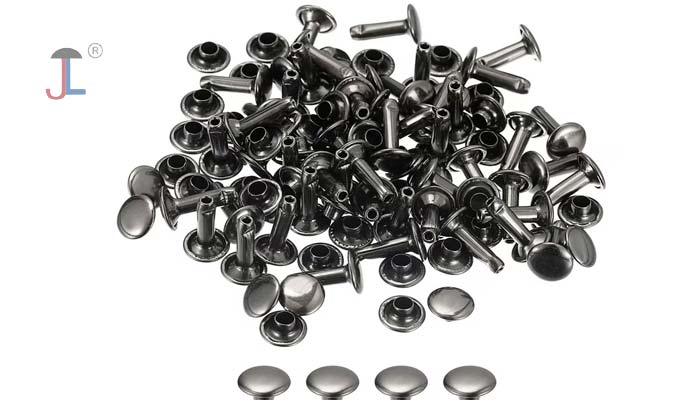
A leather rivet typically consists of two main parts:
- Cap (head): The decorative top, visible on the outside.
- Post (stem or base): A cylindrical shaft with a hollow or solid end.
When you install a rivet:
- You insert the post through a hole in the leather.
- The cap fits over the post on the other side.
- Using a rivet setter or hammer, you apply force to flare, compress, or mushroom the post.
- This deformation locks the rivet in place, clamping the leather layers tightly together.
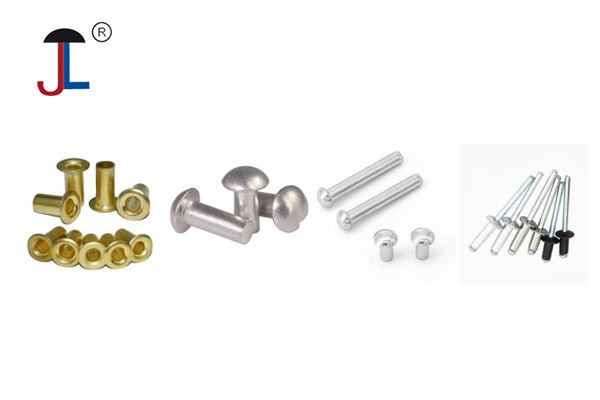
2. Types of Leather Rivets
There are several types, each working slightly differently:Single Cap Rivets
- Structure: One decorative cap + one hollow post.
- How They Work: The cap snaps onto the post; when hammered, the post flares out and grips the leather.
- Best For: Belts, straps, and lightweight leather goods.
- Strength: Medium.
Double Cap Rivets
- Structure: Two smooth caps (both sides look finished).
- How They Work: Same as single cap rivets, but the underside looks neat since both ends have caps.
- Best For: Wallets, handbags, shoes, high-end leather goods.
- Strength: Medium to strong.
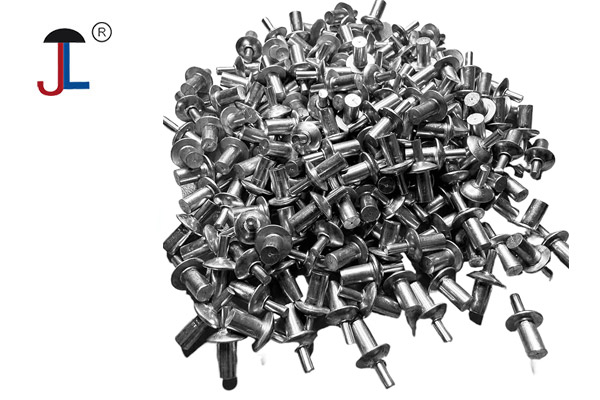
Tubular Rivets
- Structure: Hollow post + matching cap.
- How They Work: The setter tool rolls or flares the hollow tube outward, locking the rivet.
- Best For: Thicker leather, straps, saddles, and heavy-duty applications.
- Strength: Stronger than single/double caps.
Solid copper/brass rivets
- Structure: A solid metal post + a separate burr (washer-like ring).
- How They Work: The burr slides down the post, then you peen (hammer) the rivet’s end to mushroom it.
- Best For: Extremely strong leather joints—saddlery, harnesses, boots, and industrial gear.
- Strength: Very high.
3. How to Install Leather Rivets (Step by Step)
What You Need
- Leather punch or drill
- Rivets (cap + post)
- Rivet setter or hammer
- Hard surface (steel block, anvil, or cutting mat)
Steps
-
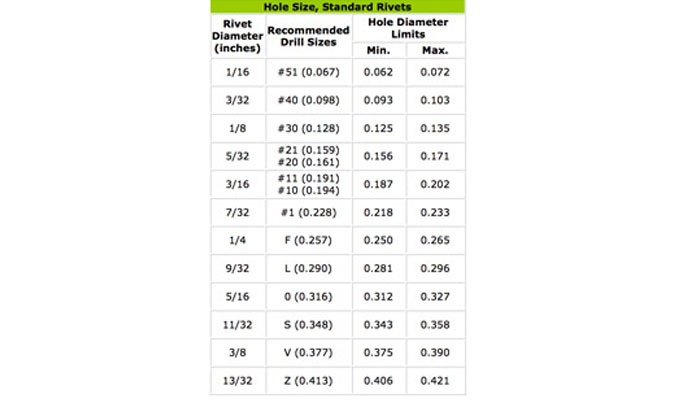
Mark & Punch Holes
Use a leather punch to make holes slightly smaller than the rivet post diameter. -
Insert the Post
Push the rivet’s post through the leather layers. -
Place the Cap
Fit the decorative cap on the other side. -
Set the Rivet
Use a rivet setter or hammer to press the cap down firmly. -
Secure the Joint
The post expands or mushrooms, locking the rivet in place.
3 Ways To Set Copper Rivets In Leather
4. Tips for Strong, Clean Rivet Work
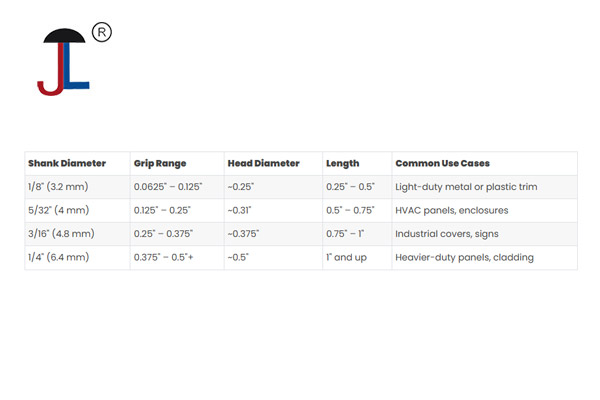
- Choose the right post length: It should be 1–1.5 mm longer than your leather stack.
- Use the right setter tool for your rivet type.
- Always test on scrap leather before working on your main project.
- If you need maximum strength, go for solid rivets instead of caps.
- For aesthetics, double cap rivets give a cleaner, finished look on both sides.
5. Applications of Leather Rivets
- Belts & Straps → Prevent tearing and add strength.
- Bags & Wallets → Secure handles, corners, and stress points.
- Shoes & Boots → Reinforce high-wear zones.
- Motorcycle Gear & Saddlery → Heavy-duty bonding.
- Decorative Design → Add style with brass, antique, or colored rivets.
Quick Summary
| Rivet Type | Appearance | Strength | Best Use |
|---|---|---|---|
| Single Cap | One smooth side | Medium | Belts, casual leather goods |
| Double Cap | Smooth both sides | Medium-High | Bags, wallets, shoes |
| Tubular | Hollow post | High | Thick leather straps |
| Solid Rivet | No hollow core | Very High | Saddles, boots, harnesses |