Setting a brass hollow rivet involves a few steps and the right tools. Here's a breakdown of the process:
1. Gather Your Materials and Tools:
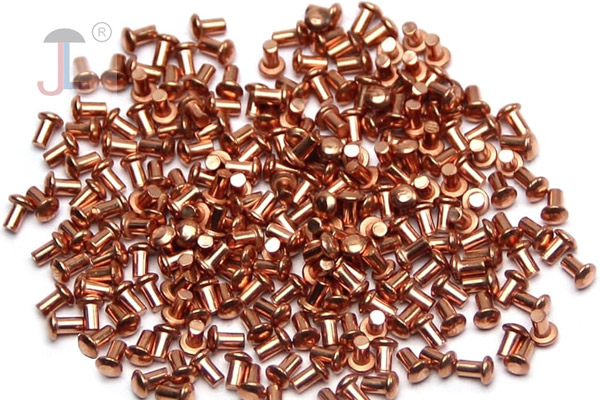
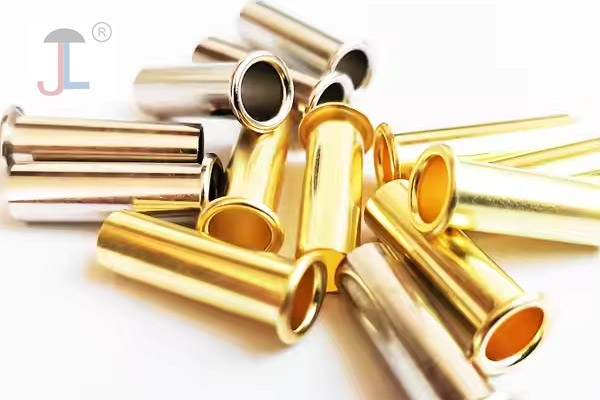
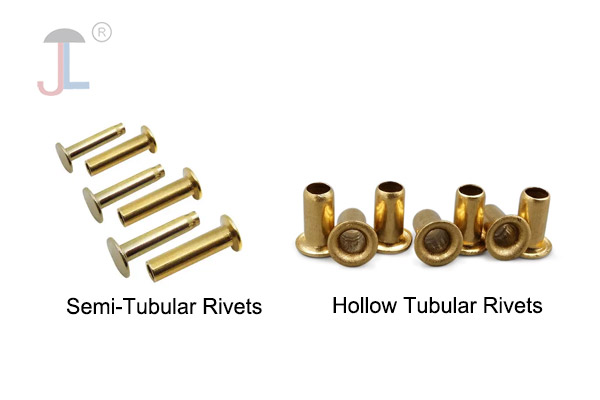
- Brass Hollow Rivets: Choose the correct size and length for your project. The rivet length should be slightly longer than the total thickness of the materials you are joining.
- Hole Punch or Drill: To create clean holes for the rivet to pass through. The hole size should match the diameter of the rivet's shaft.
- Anvil or Hard Surface: A solid metal block or anvil to support your work.
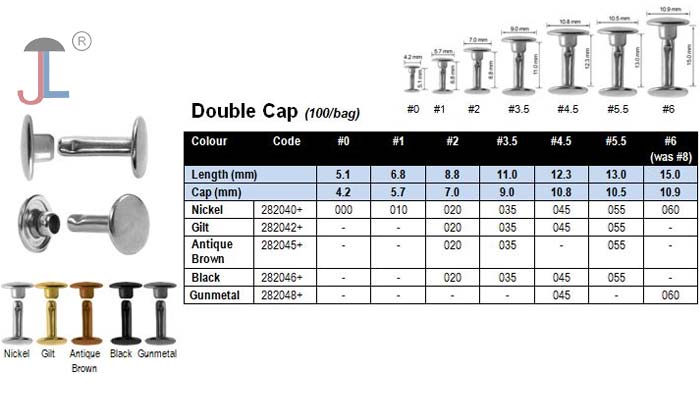
- Rivet Setting Tool (Setter) and Anvil: This is the most common and recommended method for a clean finish. Rivet setters come in different sizes to match various rivet head styles and diameters. They usually have a cupped end to fit over the rivet head and a flat base. Some sets include a doming tool for a rounded finish.
- Mallet or Hammer: A rawhide, plastic, or ball-peen hammer is used to strike the rivet setter.
- Optional: Washers: For added strength or to prevent the rivet head from pulling through softer materials.
2. Prepare Your Materials:
- Punch or Drill Holes: Align the pieces you want to join and create clean holes where you want to place the rivet. Ensure the holes are the correct size for your rivets and are aligned perfectly.
3. Insert the Rivet:
- Insert the rivet through the aligned holes from the side where you want the finished head to be visible.
- If using a washer, place it over the protruding shank of the rivet on the backside.
4. Set the Rivet:
- Place on Anvil: Position the material with the rivet on a solid anvil or hard surface, with the rivet head resting on the surface.
- Place Setter: Place the appropriate sized rivet setter over the exposed hollow shank of the rivet. The cupped end of the setter should fit snugly over the end of the rivet.
- Strike the Setter: Using your mallet or hammer, strike the top of the rivet setter with firm, even blows. The force will cause the hollow end of the rivet to flare out and compress against the material (and washer if used), creating a secure fastening.
- Check the Set: After a few strikes, check the rivet. The flared end should be mushrooming evenly and tightly against the material. Continue striking until the rivet is securely set and the materials are joined firmly. Avoid over-hammering, which can deform the rivet head or weaken the joint.
5. Finishing (Optional):
- Doming: If you desire a rounded finish on the flared side, you can use a doming tool (often included in rivet setter kits) after the initial flaring. Place the doming tool over the flared rivet end and strike it gently to create a rounded shape.
Alternative Method (Without a Dedicated Rivet Setter):
While a rivet setter provides the best results, you can attempt to set a small hollow brass rivet carefully with just a ball-peen hammer:
- Follow steps 1-3 above.
- Place the rivet on a solid surface.
- Carefully and gently tap the hollow end of the rivet with the rounded side of the ball-peen hammer, working in a circular motion. The goal is to gradually flare the end outwards evenly.
- Use light taps and check frequently to avoid bending or misshaping the rivet.
- This method requires more skill and can be less consistent than using a dedicated rivet setter.
Important Considerations:
- Material Thickness: Ensure the rivet length is appropriate for the thickness of the materials you are joining. Too short, and you won't have enough material to flare; too long, and the flared end might be too large or uneven.
- Hole Size: The hole should be just large enough for the rivet shank to pass through snugly. Too large, and the rivet won't set properly.
- Even Flaring: Aim for an even and consistent flare on the backside of the rivet for a strong and aesthetically pleasing result.
- Practice: If you're new to setting rivets, practice on scrap material first to get a feel for the process and the amount of force needed.
By following these steps and using the appropriate tools, you can successfully set brass hollow rivets for your projects.