Removing stainless steel rivets requires some tools and a bit of patience. Here's how to do it:
Tools You’ll Need:
-
Drill with a metal drill bit (slightly larger than the rivet shaft)
-
Center punch (optional but helpful)
-
Hammer (if using a center punch)
-
Pliers (optional)
-
Safety goggles and gloves
Steps:
-
Safety First: Wear your safety goggles and gloves to protect yourself from metal shards and debris.
-
Mark the Rivet (Optional): If the rivet is large or the head is very smooth, use a center punch to create a small indentation at the center of the rivet. This will help the drill bit stay in place and not slip.
-
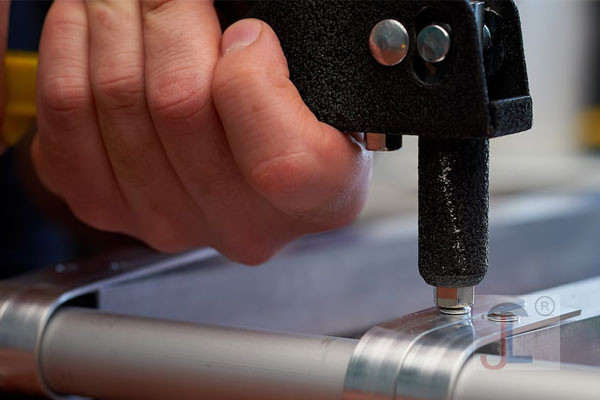
Drill Out the Rivet:
-
Attach a drill bit slightly larger than the rivet shaft to your drill. The goal is to remove the head of the rivet.
-
Position the drill over the center of the rivet and start drilling. Drill slowly to avoid overheating the bit or damaging the surrounding material.
-
Continue drilling until the head of the rivet comes off. You may need to apply some pressure, but be careful not to force the drill too hard.
-
-
Remove the Rivet Body:
-
Once the rivet head is removed, the remaining rivet body should come out. If the rivet shaft is still stuck, you can grab it with pliers or use a punch and hammer to push it out from the other side.
-
-
Clean Up: After the rivet is removed, you may have a small hole or some debris left behind. Clean it up, and if needed, use a metal file to smooth the surface.
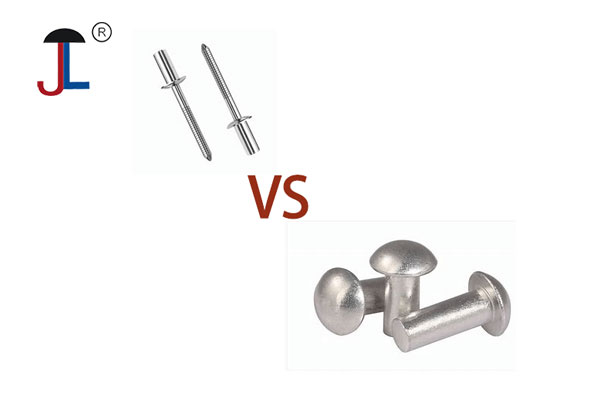
This method works for most stainless steel rivets, but be aware that stubborn or large rivets might require additional steps like using a rivet removal tool or applying heat.
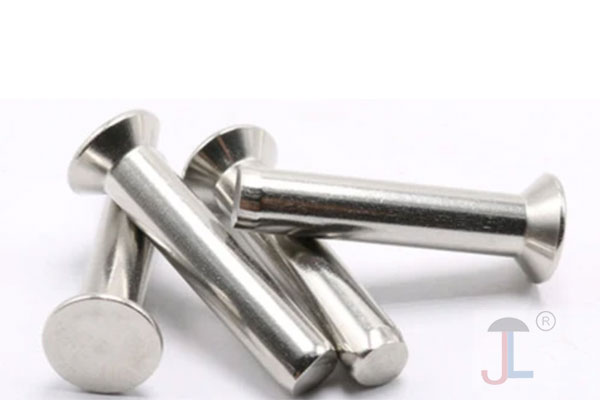
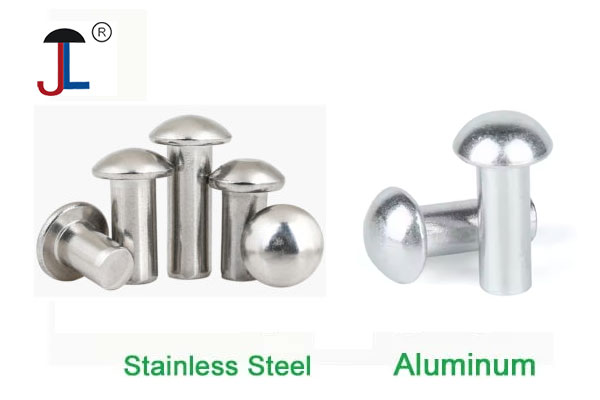
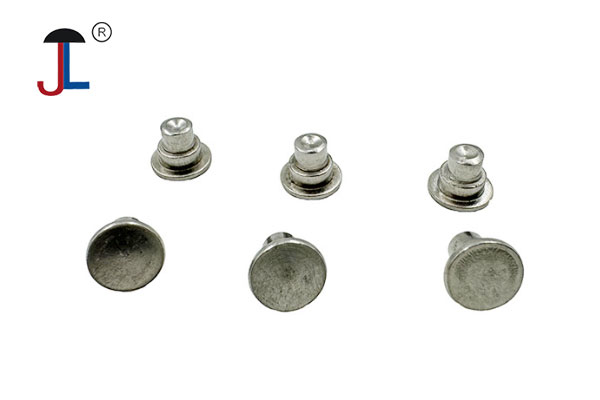
? Stainless Steel Rivets – Secure and Reliable Fastening