Here is how countersunk rivets function and are installed:
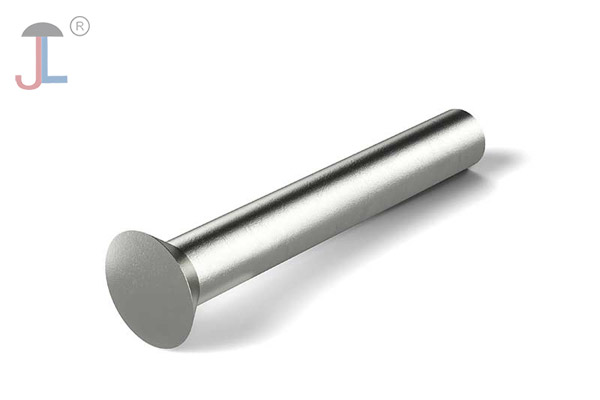
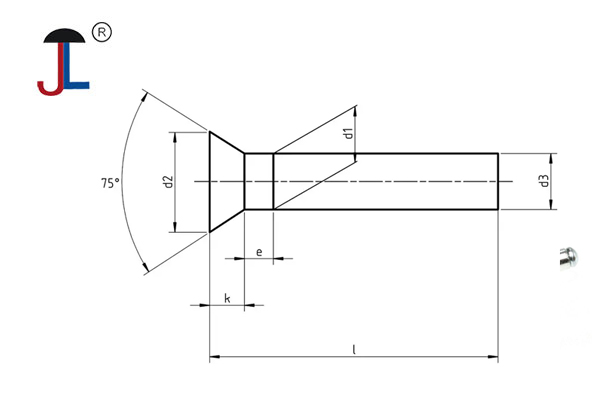
- Countersinking or Dimpling the Material: Before installing a countersunk rivet, the hole in the material is either countersunk (a conical recess is machined) or dimpled (an indentation is formed) to accommodate the rivet head. This ensures the rivet head sits flush with the surface, reducing drag and providing a smooth finish, which is especially important in applications like aircraft skin panels.
- Rivet Installation: The rivet is inserted into the pre-drilled and countersunk hole. The rivet's tail end is then deformed or upset by applying force (using pneumatic or hand rivet tools) while a bucking bar supports the rivet from the opposite side. This deformation causes the rivet to expand and tightly clamp the materials together.
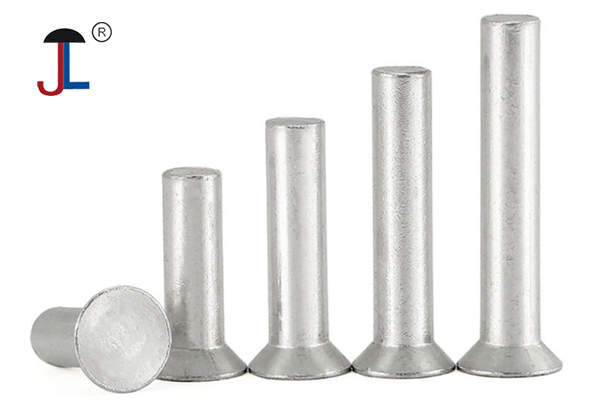
- Tools and Technique: Setting countersunk rivets requires specific rivet sets with a slight convex curve to match the rivet head shape, ensuring the riveting force is applied directly to the rivet and not the surrounding material. The rivet must be the correct length (usually about 1.5 times the rivet diameter) to avoid issues like tipping or partial backing out of the countersink. The riveting tool must be held square and flat to ensure a proper, flush set.
- Benefits: Countersunk rivets reduce aerodynamic drag by eliminating bumps on the surface, which is critical in aerospace applications. Additionally, dimpling the material before riveting can increase joint strength by adding the cross-sectional thickness of the dimpled material to the rivet's clamping force.
- Material Thickness and Countersink Depth: When selecting countersunk rivets, it is important to match the rivet size and length to the total thickness of the materials being joined, as well as ensure the countersink depth is sufficient for the rivet head to sit flush. For example, a 3/8 inch countersunk rivet may require a material thickness between 0.126 and 0.187 inches and a countersink depth of about 0.031 inches.