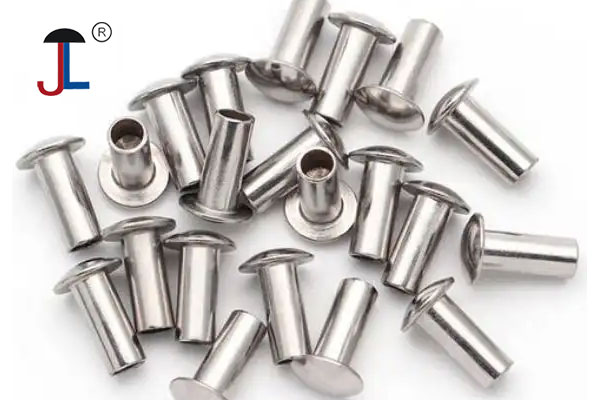
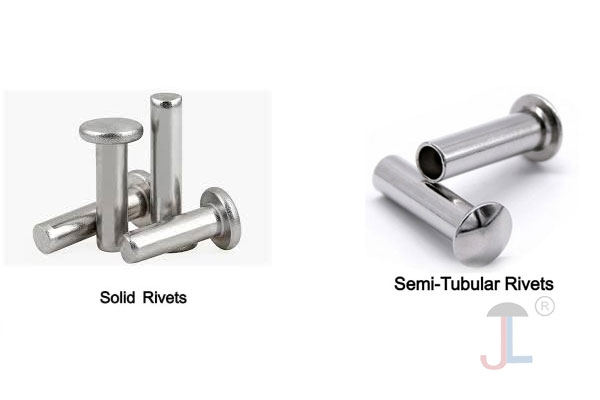
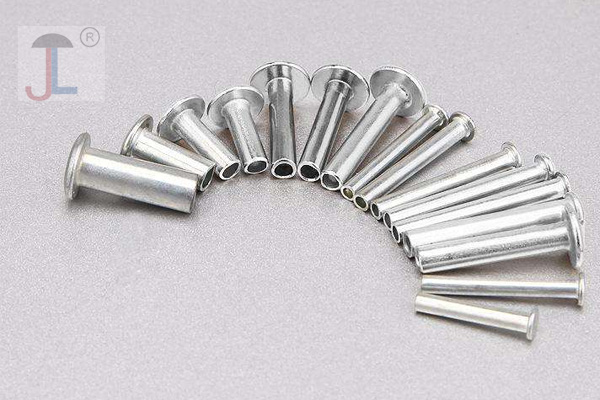
Semi-tubular rivets are a common type of fastener used in various applications, from light fixtures to luggage, where a strong, permanent joint is needed, often allowing for some movement (pivot points). They are distinguished by a shallow hole at the tip of the rivet, which makes them easier to install than solid rivets.
Here's a breakdown of how to install semi-tubular rivets, including common tools and methods:
Understanding Semi-Tubular Rivets
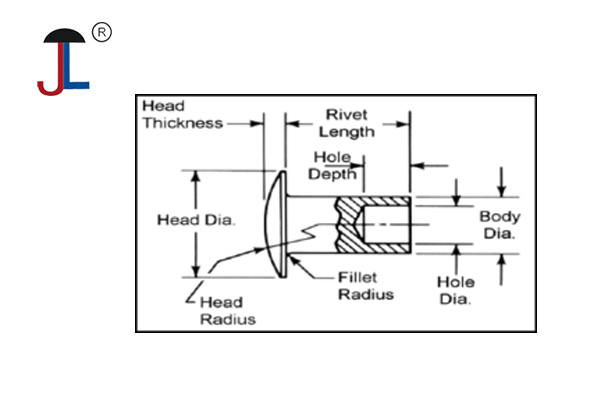
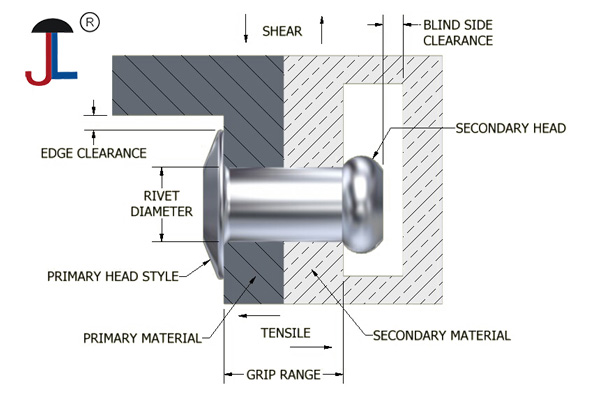
- Design: They have a cylindrical body with a hollow interior on one end. The "hollow" portion is designed to roll or flare outward when force is applied, creating a secure clinch.
- Materials: Common materials include steel, brass rivet, copper rivet, stainless steel rivets, and aluminum rivets.
-
Advantages:
- Require significantly less force to install compared to solid rivets.
- Efficient for mass production.
- Provide a strong and permanent joint.
Installation Methods and Tools
The method you choose will depend on the scale of your project and the tools available.
-
Manual Rivet Setter (Hand Tool) This is a common method for small-scale projects or when a dedicated machine isn't practical.
- Tools: A rivet setter (also known as a rivet peening tool or flaring tool) and a hammer. Some rivet setters come as a kit with different dies for various rivet sizes. A bucking bar (a heavy piece of metal) can also be used for support on the tail end.
-
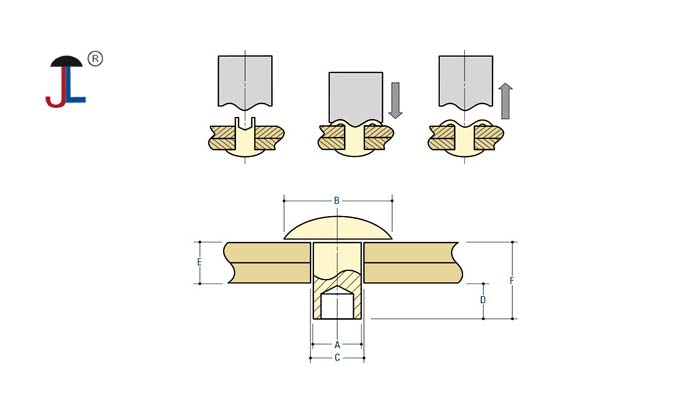
Steps:
- Prepare the materials: Drill pilot holes in the materials you want to join. The hole diameter should be slightly larger than the rivet's shank diameter (typically 0.010" to 0.015" larger).
- Insert the rivet: Push the semi-tubular rivet through the aligned holes from the "head" side.
- Position the rivet setter: Place the rivet setter over the hollow end (the "buck-tail") of the rivet. The setter typically has a concave or shaped end designed to roll the rivet.
- Hammer the rivet: Strike the rivet setter with a hammer. The force will cause the hollow end of the rivet to flare outward, forming a second head and clinching the materials together.
- Inspect: Check that the rivet is flush and secure, and that the materials are tightly joined.
-
Manual Squeezer / Rivet Gun These tools use a lever or squeeze mechanism to apply force.
- Tools: A manual rivet gun/squeezer.
-
Steps:
- Prepare and insert: Drill holes and insert the rivet as described above.
- Position the gun: Place the jaws of the rivet gun over the rivet, with one jaw supporting the head and the other pressing on the hollow end.
- Squeeze: Squeeze the handles of the rivet gun. This applies pressure, causing the hollow end to deform and clinch the rivet.
- Inspect: Verify the rivet is properly set.
-
Specialized Riveting Machines (for production) For high-volume manufacturing, specialized machines are used:
- Pneumatic Squeezers: Use compressed air for faster and more consistent results.
- Kick Presses: Foot-operated machines that provide controlled force.
- Impact Riveters: Use an impact force to set the rivets.
- PLC-Controlled Robotics: Fully automated systems for high-speed, precise riveting.
Important Considerations for Successful Installation:
-
Rivet Size: Use the correct rivet diameter and length for your materials.
- Shank Diameter: Should be appropriate for the material thickness (often a 1:1 to 1:3 ratio for metal, closer to 1:1 for plastic).
- Hole Size: The pre-drilled hole should be slightly larger than the rivet shank to allow for easy insertion without damaging the rivet or part.
- Shank Length / Clinch Allowance: The rivet needs enough length (stick-out) beyond the material stack-up to properly form the clinched end. This is typically 50-55% of the shank diameter. If too short, it won't clinch; if too long, the parts may not be tight.
- End-Hole Depth: The depth of the hollow portion of the rivet is crucial for proper forming.
- Support: Always support the head of the rivet on a solid surface or with an appropriate die to prevent bending or damage during installation.
- Practice: If you're new to riveting, practice on scrap material to get a feel for the tools and the amount of force needed.
By following these guidelines and using the appropriate tools, you can successfully install semi-tubular rivets for a variety of projects.